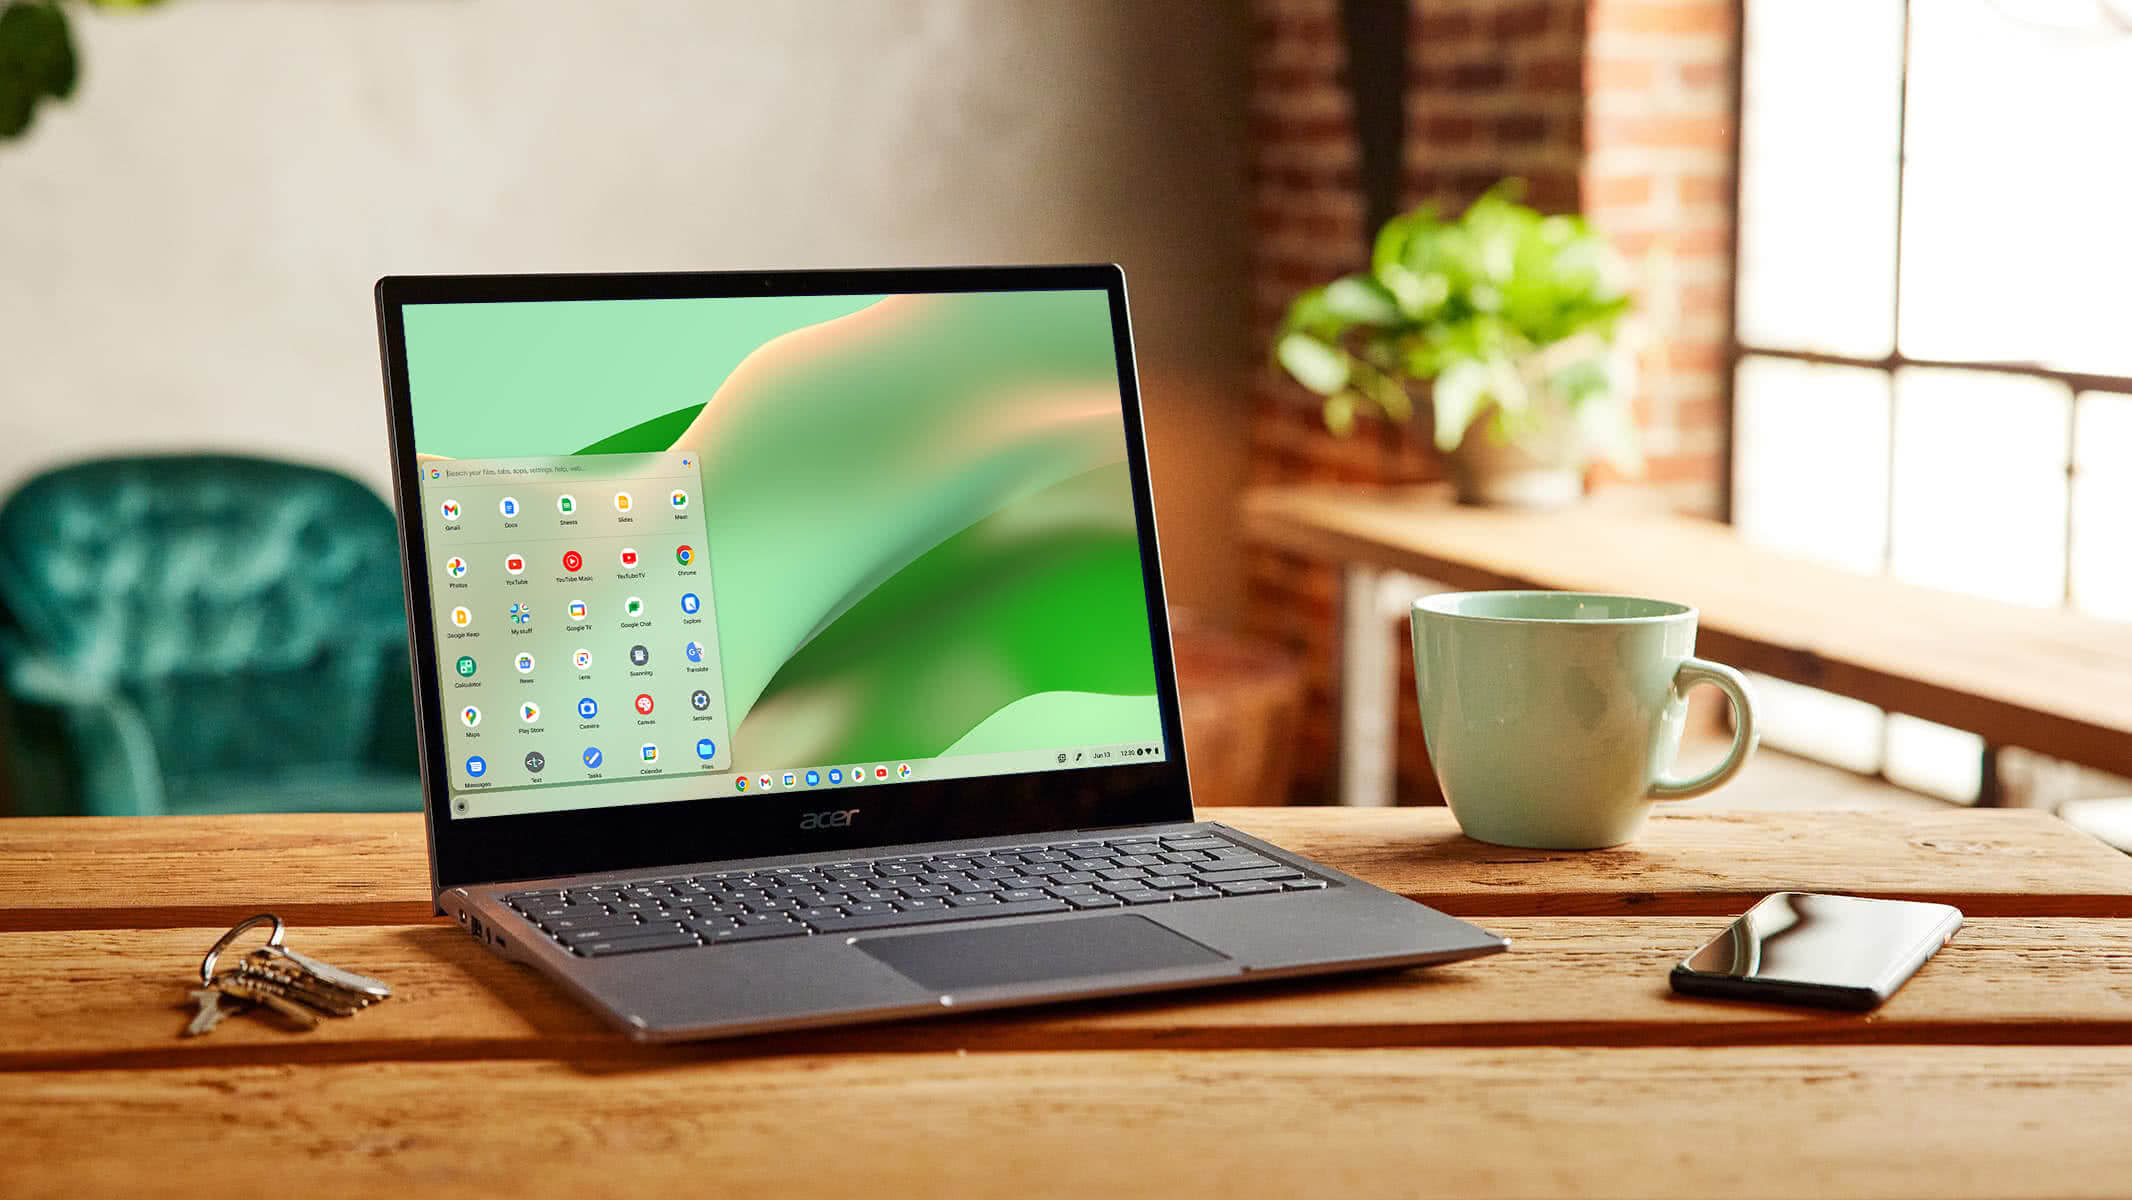
How to Enable Developer Mode on a Chromebook
Developer mode on a Chromebook allows users to access advanced features and capabilities that are not normally available. This can include the ability to run custom software, modify system settings, or install a dual-boot system. However, enabling developer mode also comes with some risks, as it can potentially compromise the security and stability of your Chromebook.
Step 1: Turn off Your Chromebook
Before you can enable developer mode, you need to turn off your Chromebook. To do this, follow these steps:
- Click the clock in the bottom right corner of the screen
- Click the power icon and then click "Shut Down"
Step 2: Enable Developer Mode
To enable developer mode, you will need to press a combination of keys while your Chromebook is booting up. Follow these steps:
- Press the power button to turn on your Chromebook
- Immediately press the Esc + Refresh keys (the Refresh key is the circular arrow icon located in the top row of keys on your keyboard)
- While holding down the Esc + Refresh keys, press the power button
- You should see a message saying "Chrome OS is missing or damaged. Please insert a recovery USB stick or SD card."
- Press the Ctrl + D keys to enable developer mode
- Press the Enter key to confirm
Your Chromebook will now enter developer mode and begin a process called "powerwash," which will erase all data from your system and restore it to its default state. This process can take several minutes to complete.
Step 3: Set Up Your Chromebook
Once developer mode has been enabled and your Chromebook has completed the powerwash process, you will need to set up your system as if it were a new device. Follow the on-screen prompts to enter your Wi-Fi information, sign in to your Google account, and complete the setup process.
Step 4: Enable Developer Mode Each Time You Boot Up
Keep in mind that every time you boot up your Chromebook in developer mode, you will need to press the Ctrl + D keys to confirm that you want to remain in developer mode. If you do not press these keys, your Chromebook will boot up in normal mode and developer mode will be disabled.
Step 5: Exit Developer Mode
If you want to exit developer mode and return to normal mode, you can do so by following these steps:
- Click the clock in the bottom right corner of the screen
- Click the gear icon to open the settings menu
- Click "About Chrome OS" in the left menu
- Click the "Detailed build information" link
- Click the "Change Channel" button
- Select the "Stable" channel and click "Change Channel"
- Your Chromebook will now download and install the latest stable version of Chrome OS
- Once the installation is complete, click "Restart" to restart your Chromebook in normal mode
Keep in mind that exiting developer mode will erase all data from your system and restore it to its default state. Make sure to back up any important data before exiting developer mode.
Conclusion
Enabling developer mode on a Chromebook can unlock a number of advanced features and capabilities, but it also comes with some risks. It's important to understand the potential risks and weigh them against the benefits before deciding to enable developer mode on your Chromebook. If you do decide to enable developer mode, make sure to follow the steps outlined in this tutorial carefully to ensure a smooth and successful process.


0 Comments